Tutorial 2 min read
Product photos without a studio
Shoot one good photo with your phone, then create clean packshots, lifestyle scenes, product videos and zoom-ready images with AI. Step by step, with prompts.
On this page
You don't need a light tent and a photographer for good product pictures. What you need is one honest, sharp photo of the real product. AI handles the background, the scene and the light. The product itself should stay exactly as it is.
Step 1: take a good base photo
- Stand near a window with daylight coming from the side. Turn off the ceiling light to avoid mixed colours.
- Put the product on a plain surface in front of a plain wall. A sheet of white paper works.
- Fill most of the frame with the product and keep it straight. Shoot at eye level with the product.
- Wipe off dust and fingerprints. AI may keep them, or invent something worse.
- Turn off beauty filters and heavy phone processing if you can.
Step 2: a clean cut-out
Many marketplaces want the main picture on a plain white background. Remove Background cuts the product out in one step. Check the edges around thin parts, like straps and cables, before you use it. Always check your marketplace's own image rules.
Step 3: place it in a scene
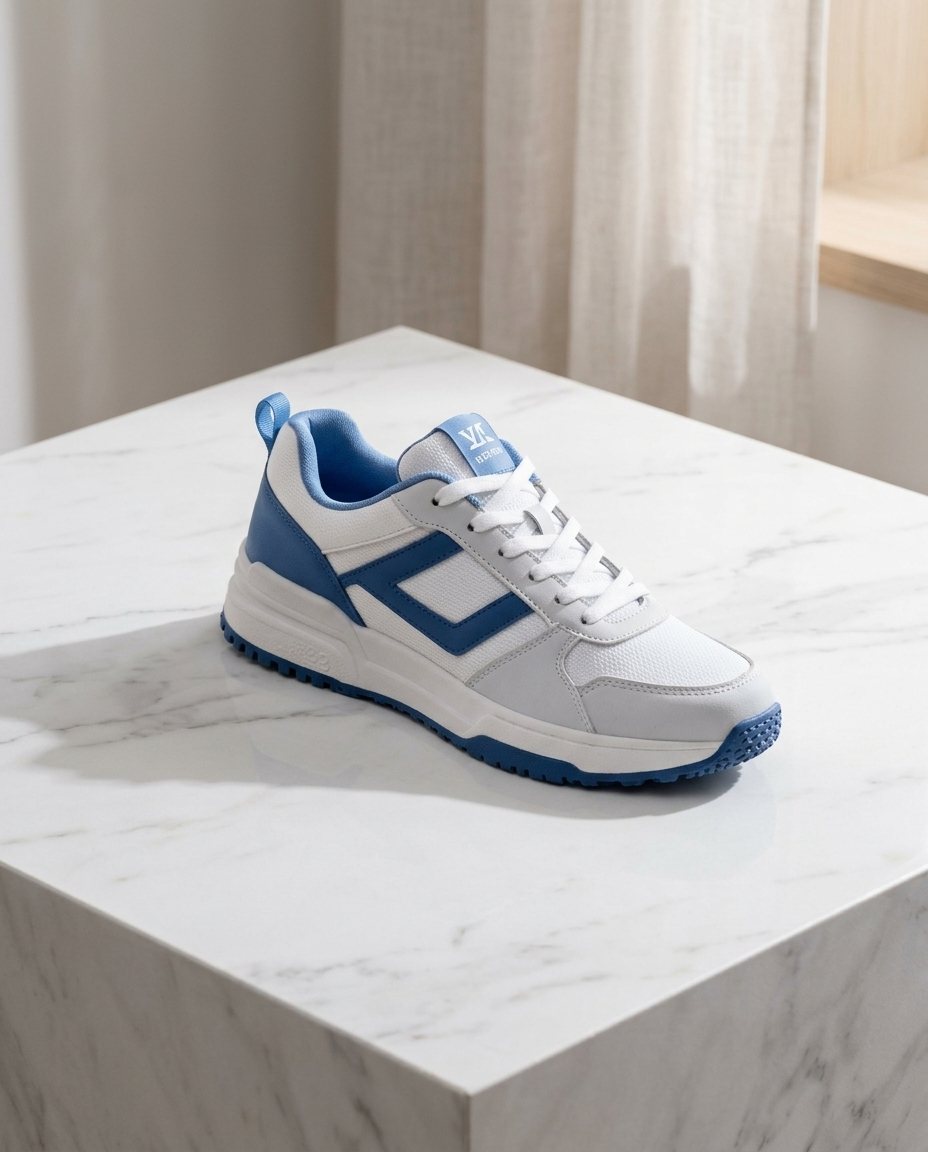
For a premium studio look, the Product on marble effect puts your product on white marble in soft daylight. For anything else, use an edit model and describe the scene. End every prompt with an instruction to keep the product unchanged.
Place this product on a light oak kitchen counter next to a bowl of lemons, soft morning window light from the left, shallow depth of field, clean and bright. Keep the product, its label and colours exactly the same.
Some scene ideas that suit most products:
- Bathroom shelf: skincare and candles, with white tiles and a eucalyptus sprig.
- Desk flat lay: gadgets and stationery, top-down, with a notebook and coffee.
- Outdoors: shoes and bags on a forest path or city pavement at golden hour.
- Colour backdrop: a solid pastel background with a hard shadow, for a bold, modern shop.
Step 4: check every detail
Compare each result with the real product. Models sometimes change small text on labels, add a button that isn't there or shift a colour. Don't publish a picture that shows the product differently from what the customer will receive.
Keeping a catalogue consistent
- Save one prompt as your template and only swap the product.
- Use the same aspect ratio for all products (square is safe for most shops).
- Use the same model for the whole catalogue, so light and colour match.
Step 5: a short product video
A few seconds of movement makes a product page feel alive. Upload your best scene picture to an image-to-video model and ask for a slow, simple camera move.
Slow orbit around the product on its surface, soft studio light, gentle reflections moving across it. The product stays unchanged. Smooth, premium, calm.
Step 6: sharp enough to zoom
Shoppers zoom in. Run the final pictures through an upscaler, such as Sharpen to 4K, to get larger, crisper files. For labels with small text, pick a faithful upscaler; Upscaling explained covers the difference.
Written by the Yumeforge team. Model options change over time; each model page shows the current ones.